


We’re looking at the Dulux NZ 2026 Colour Forecast as Southland New Zealand daylight hours wane. The slow down helps
Hello friends, It’s the 1st of April and Easter weekend is upon us (with the added bonus of time

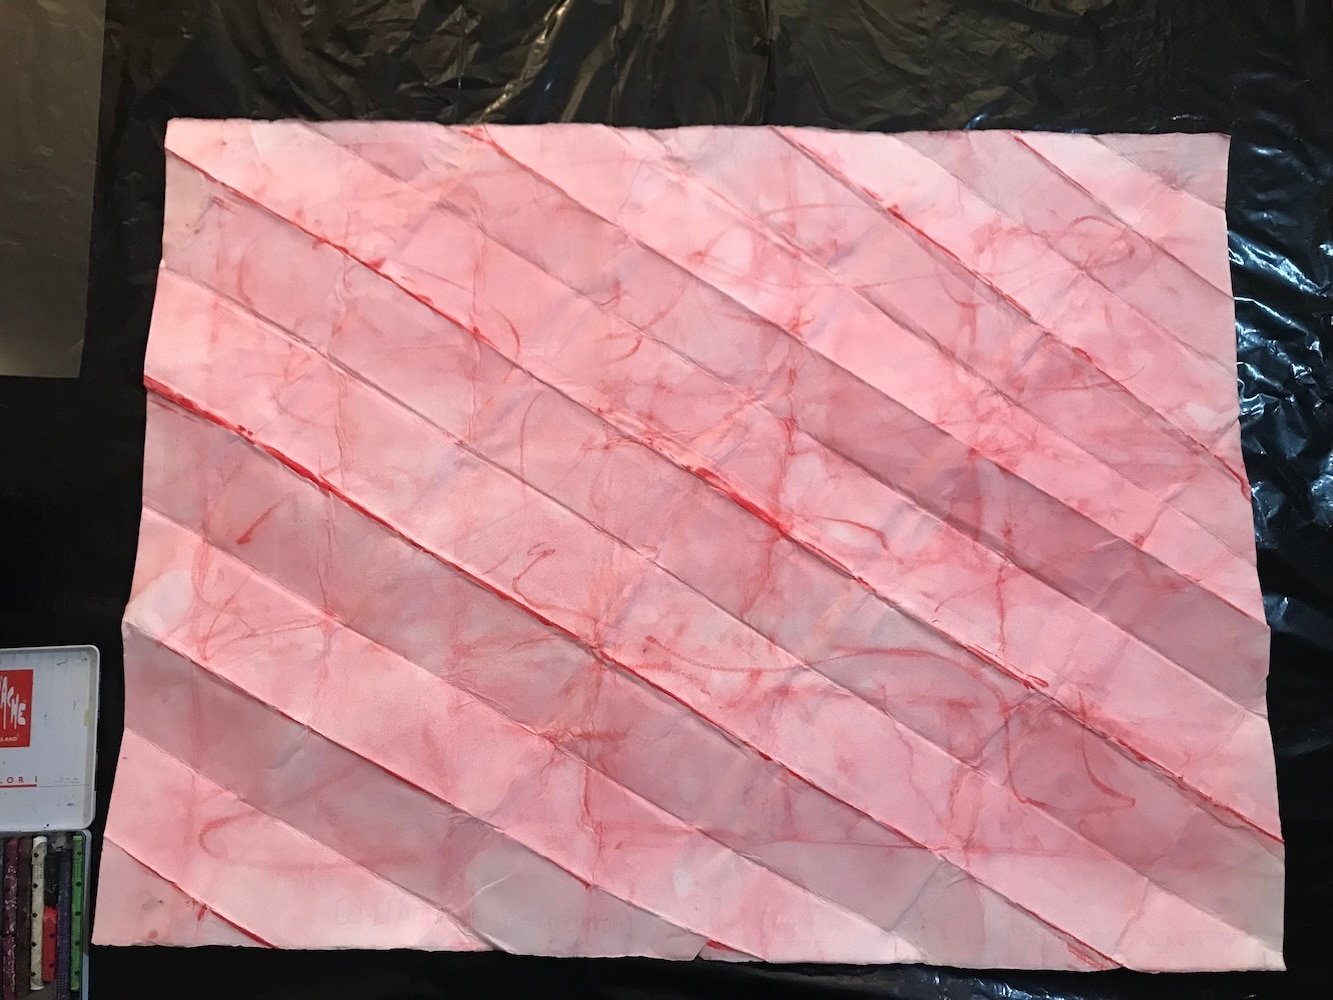
Last week I shared how the joyful pinks of Pink Chatter feel perfectly at home in soft Cloud Dancer spaces.