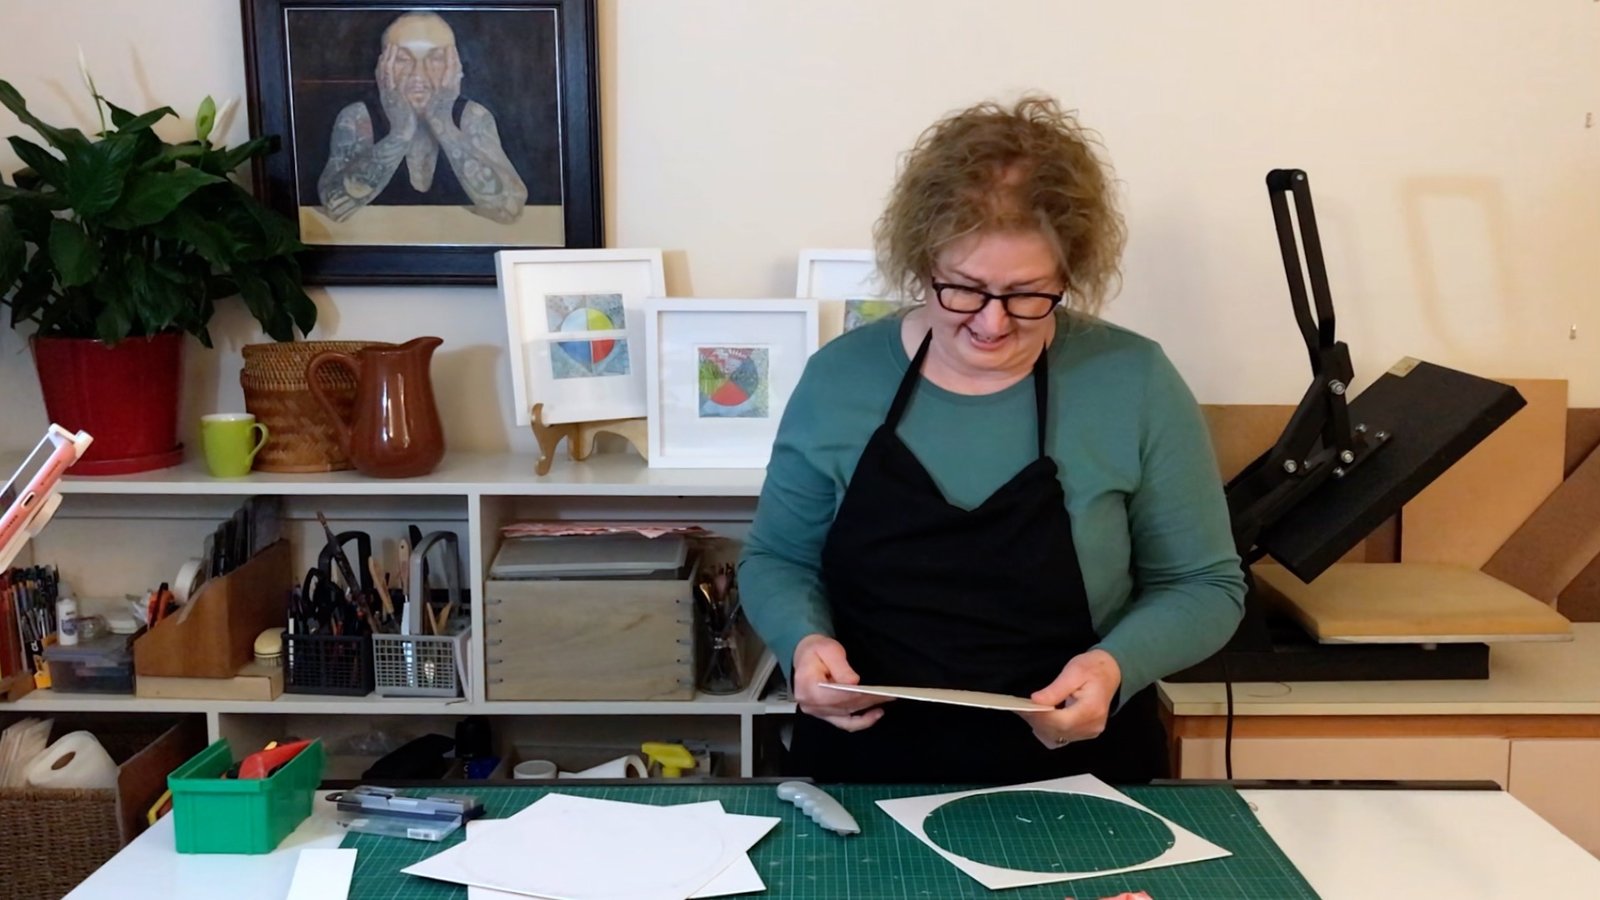
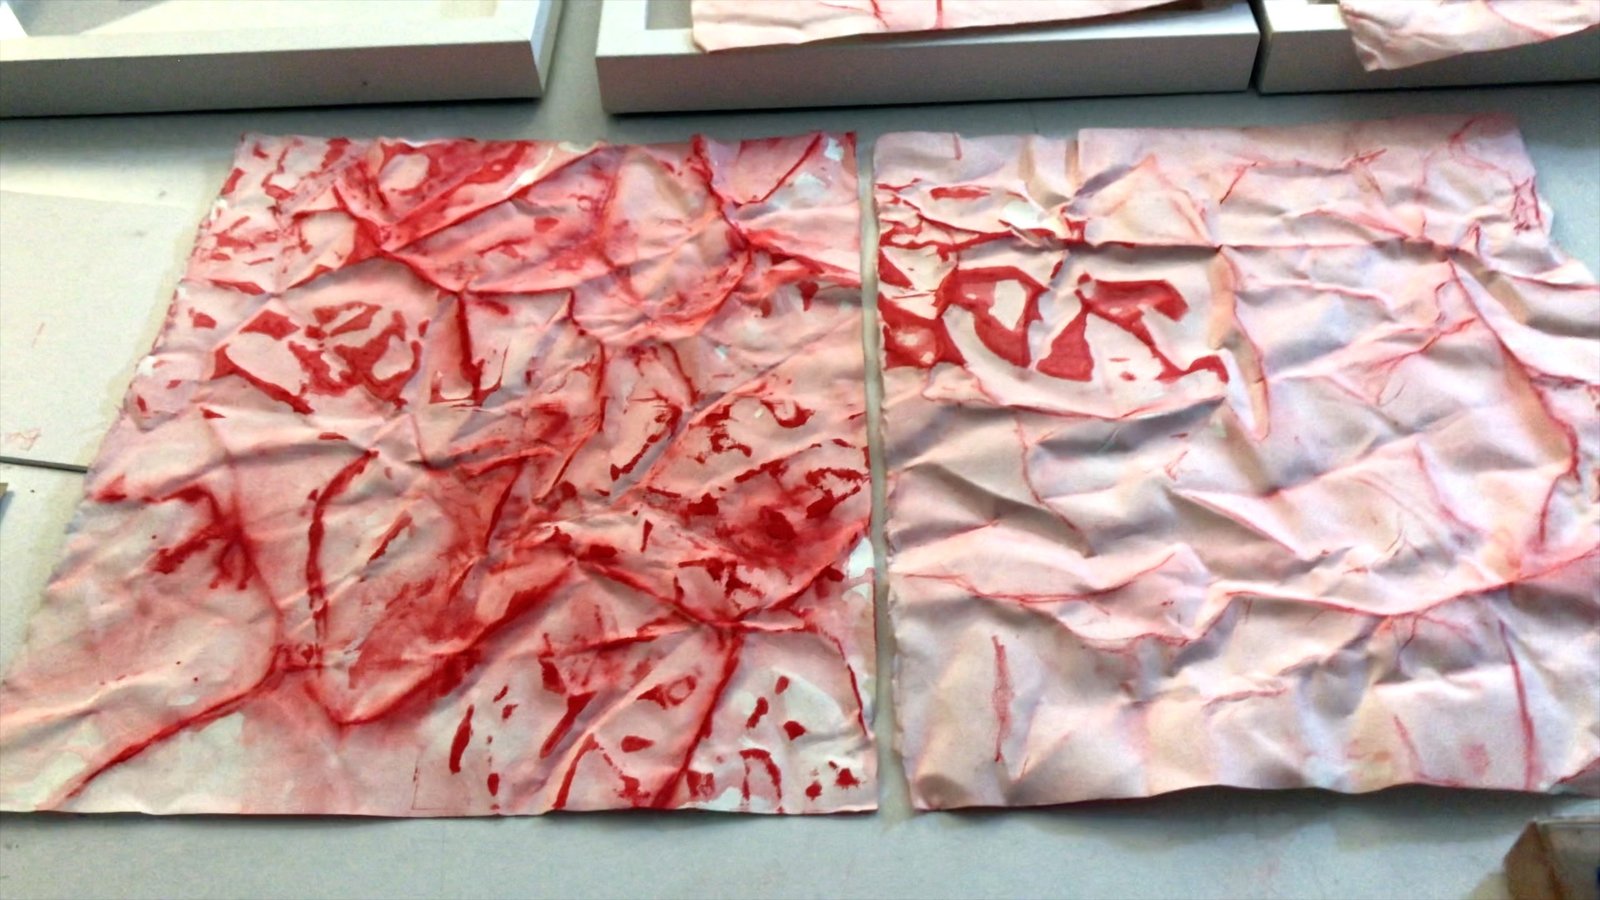
I chose monoprinting with Inktense as the method to create my next set of abstracts. Rather than brushing them straight onto paper supports, instead, I applied rather concentrated solutions of Inktense to card board shapes. Then, I pressed that onto the paper.
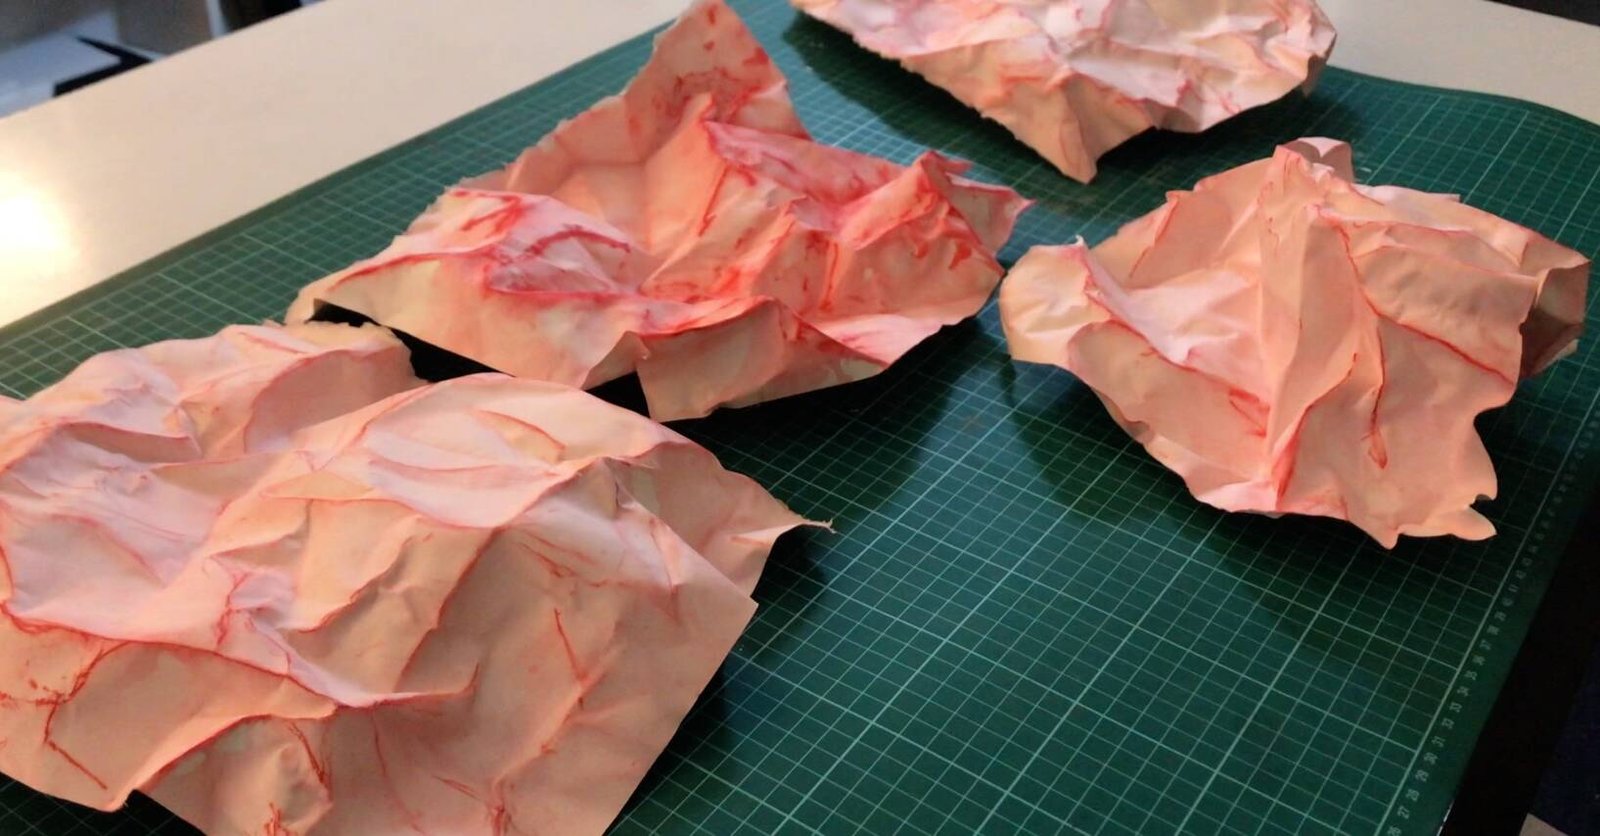
Therefore, I needed to flatten them with my heated plate press before I could monoprint.
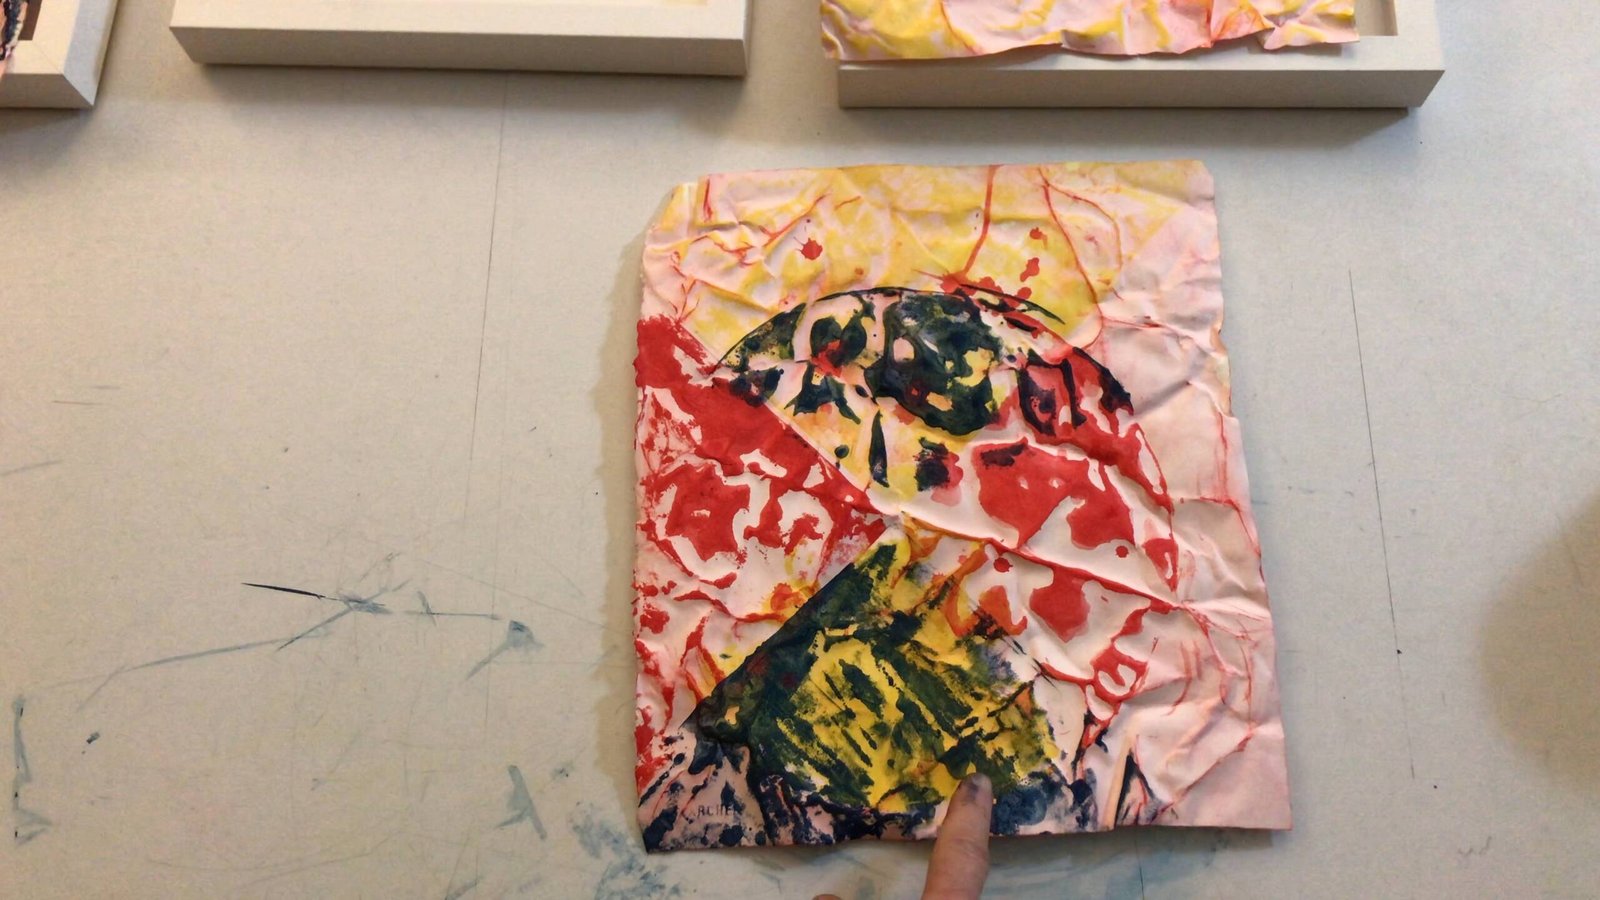
Nonetheless, the lovely and crunchy paper was was perfect for this set of works. Furthermore solving any problems that arose from mono printing on the crunchy paper would lead to even more creativity.
Click here to read “The 4 Problems I Solved Creating on Really Rough Paper” where I discovered that solving problems increases innovation.
Problems of Monoprinting with Inktense
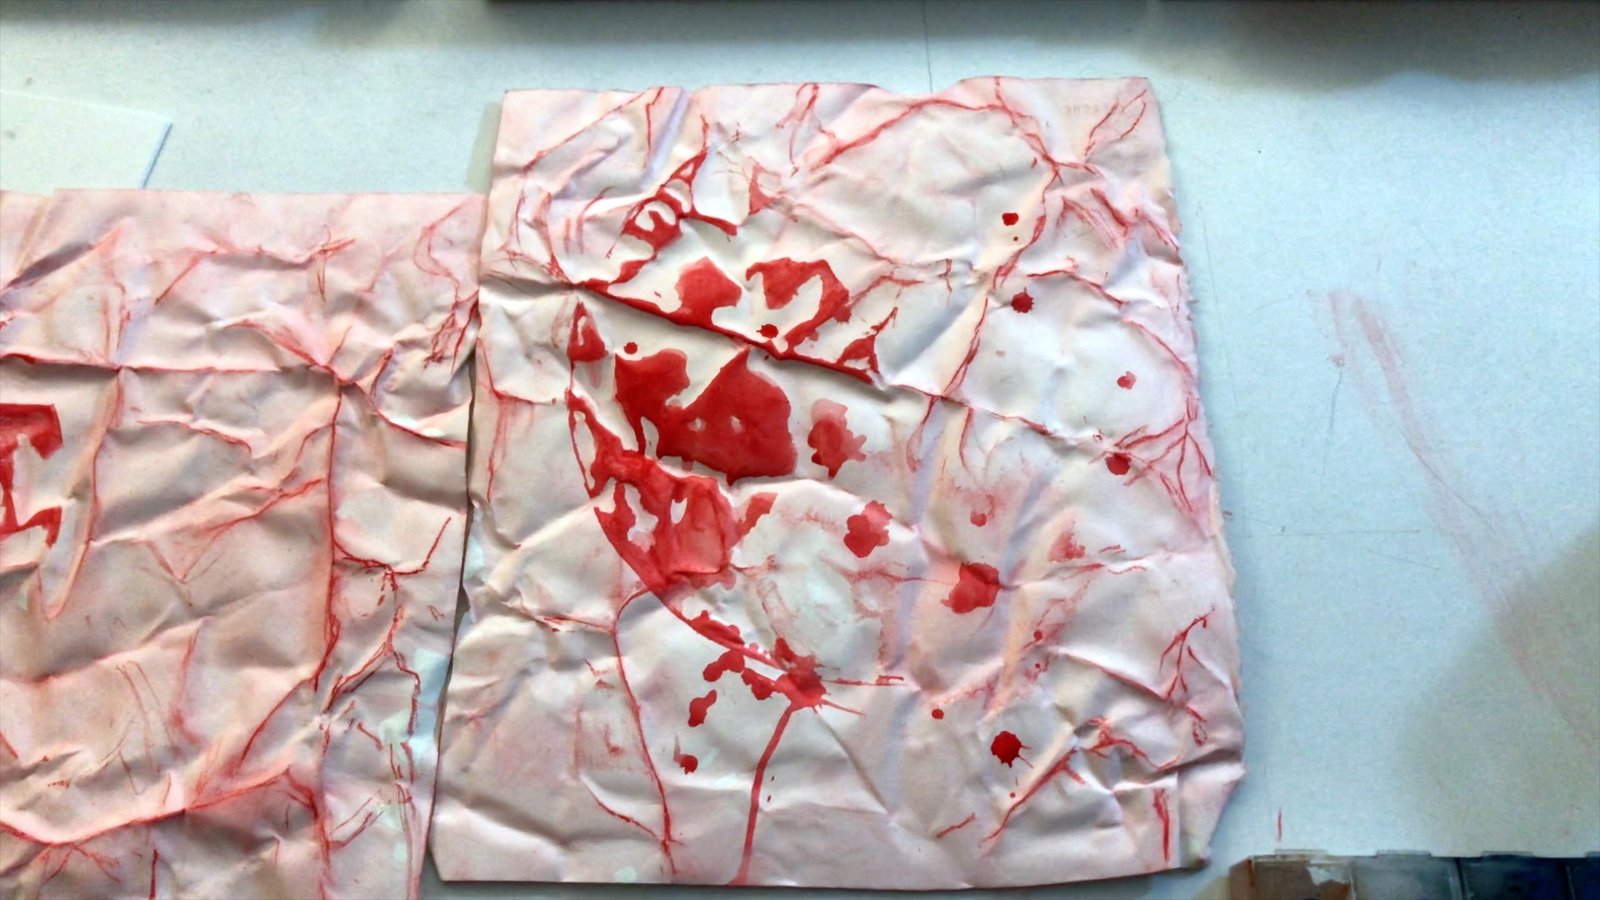
From the outset I had trouble with monoprinting the red inktense design using cardboard plates. Hence, to get the desired strength, I cold-pressed it several times.
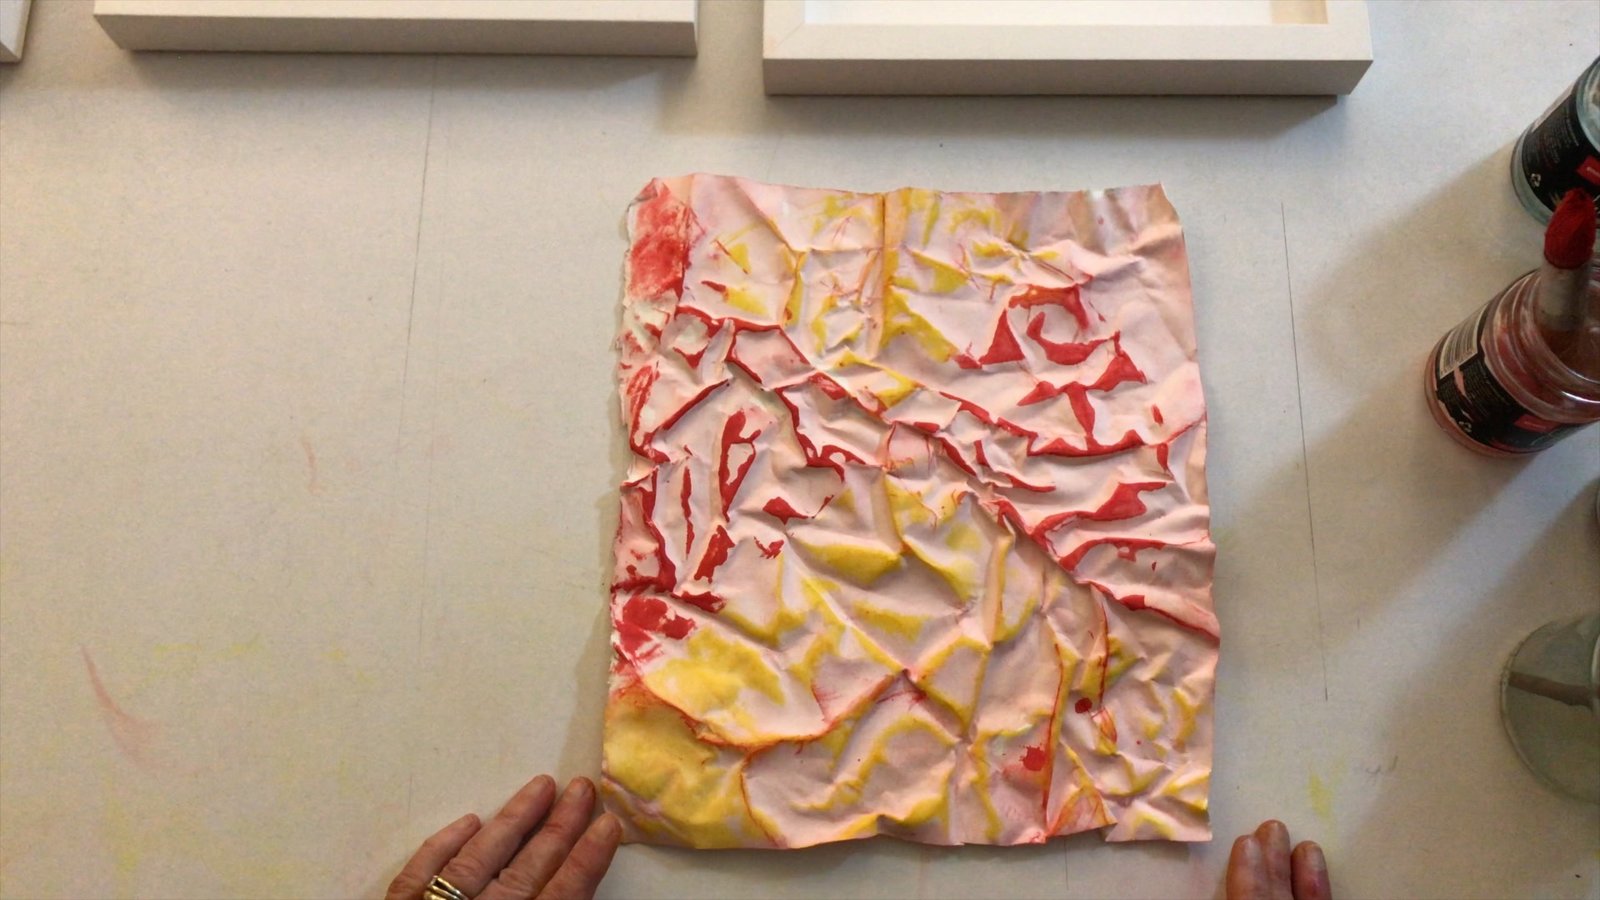
Next, monoprinting yellow Inktense offered little contrast on the paper, despite repeated cold pressings. Consequently, I made the yellow solution stronger.
Then, all transfer problems were solved with the discovery of two rollers: one specifically for ink printing and the other for clay. Both were perfect for transferring the ink from the card to the crunchy paper.
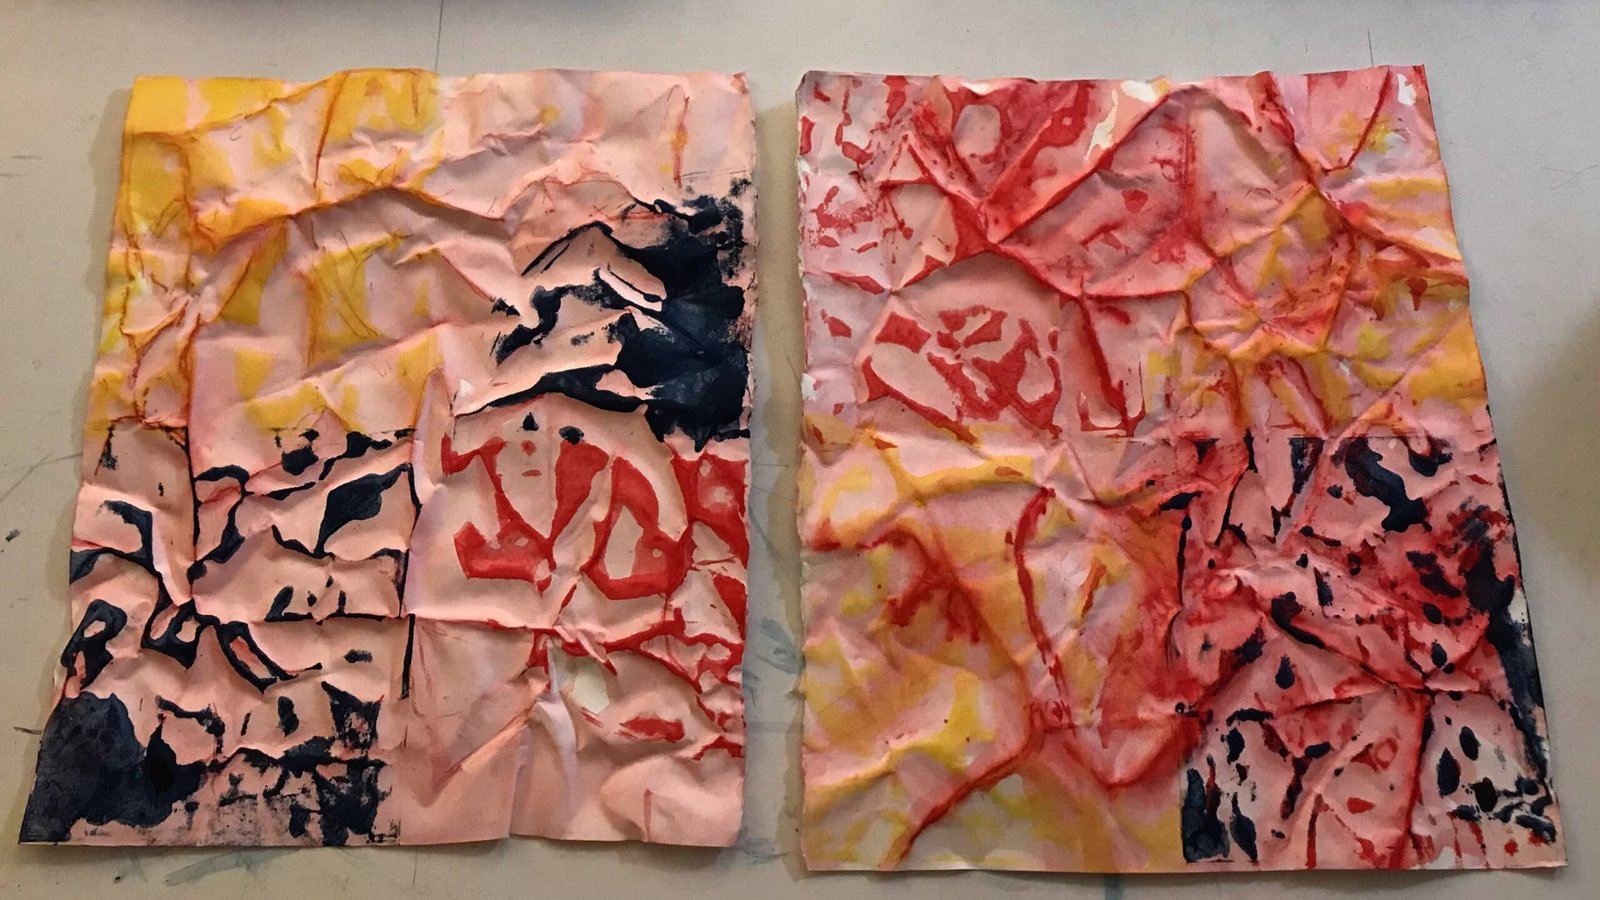
I was delighted with the immediate contrast that blue Inktense added to the composition.
Caran D’ache Crayons
Next, out came my Caran D’ache crayons, which I absolutely love! Indeed, the highly pigmented sticks have an almost buttery feel. Thereby, they go onto most paper without leaving debris often left by ordinary crayons.
I hoped that I could make marks more straightforwardly than my experience of monoprinting with Inktense. Nevertheless, I knew the outcome would be interesting and, I’d would learn a thing or two.
The crunchy paper support forbade tender treatment. Thereby, I literally struck the surface many times with the crayons to make marks on the paper. The rough paper caused the stick to skip.
Click here to read, “Discover Three Important Creative Truths in the Art Studio”, where I talk about the importance of solving problems and the roll it plays in creativity.
The results
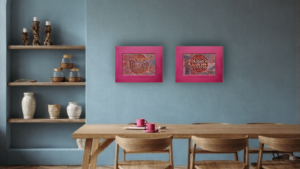
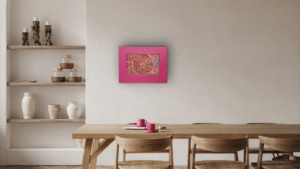
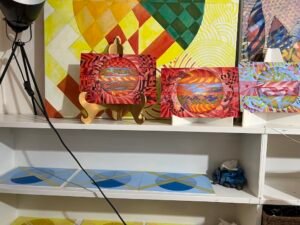
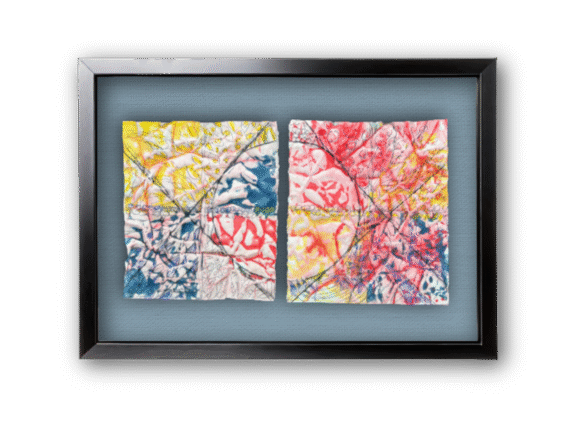
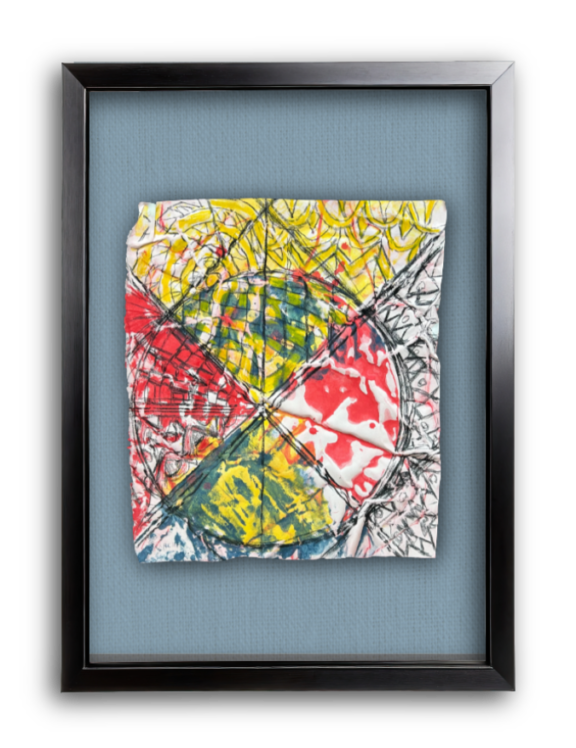
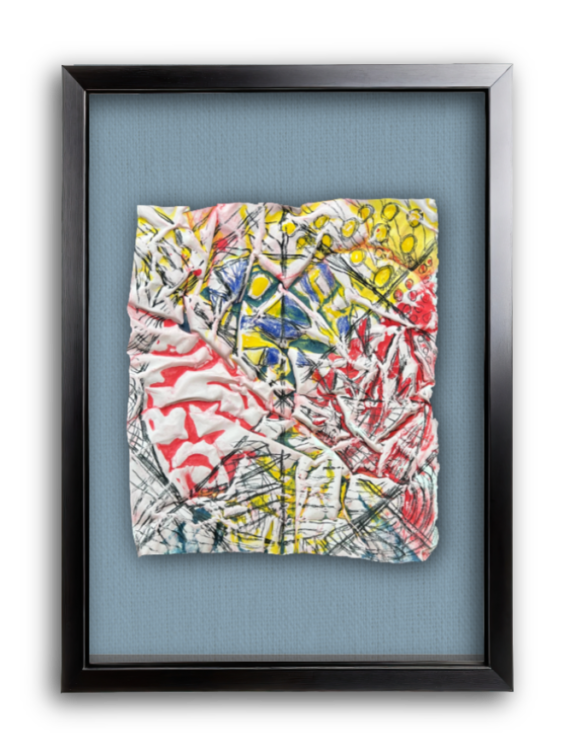
I’m really pleased with these works, named ‘Red Playground No. 1, No. 2 and No. 3’, because they broke well outside the bounds of what I normally make. They certainly differ from Can Red Come Out to Play, No 1, No. 2, and No. 3
I invite you to watch the video to watch the dynamic creation of these three works by clicking here.


