


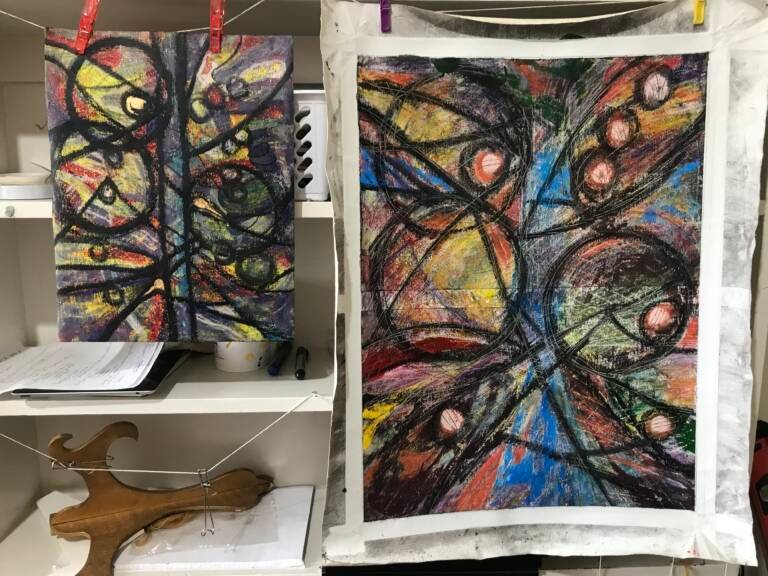
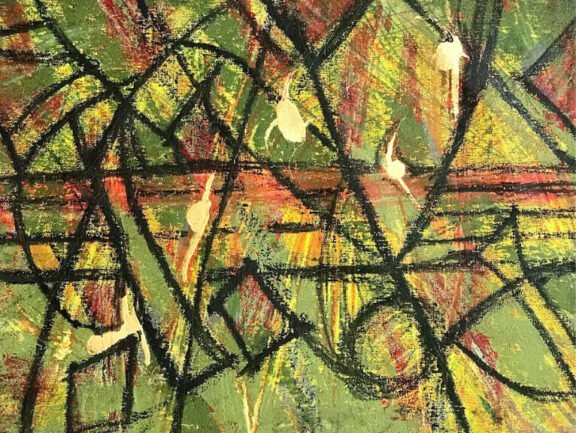
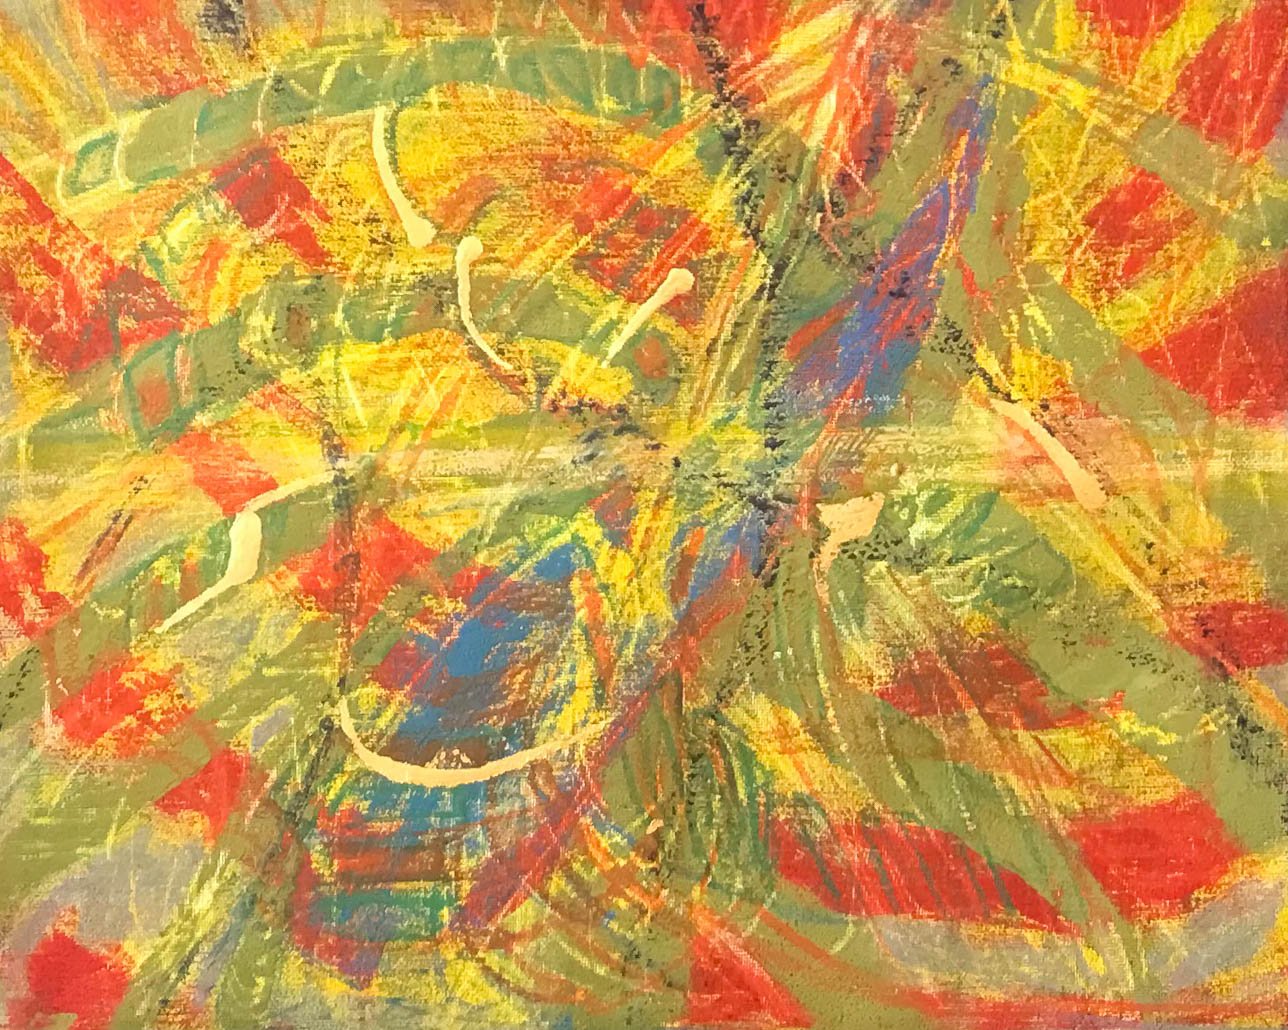
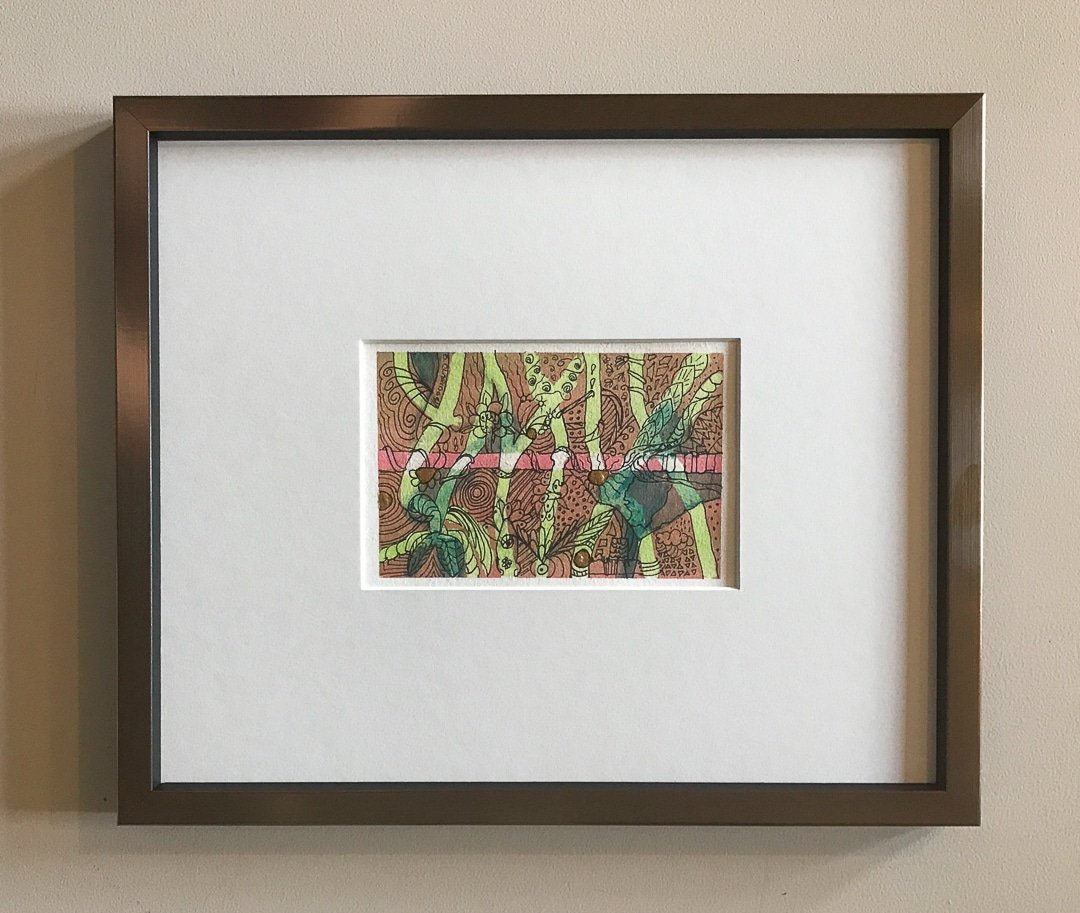
Hurly Burly, an experimental studio adventure explores an exhilarating interplay between tumult and tranquility.

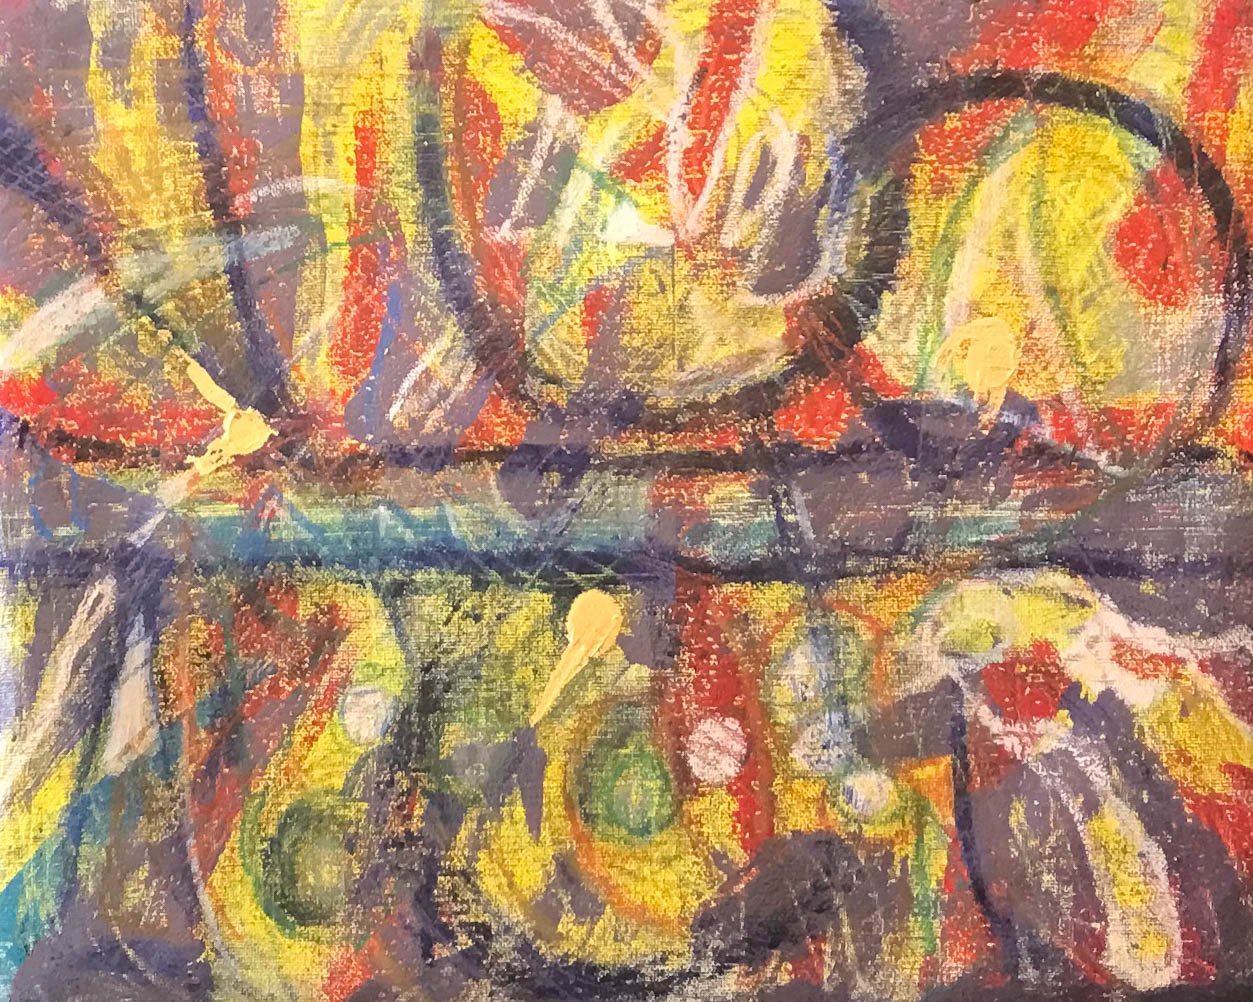
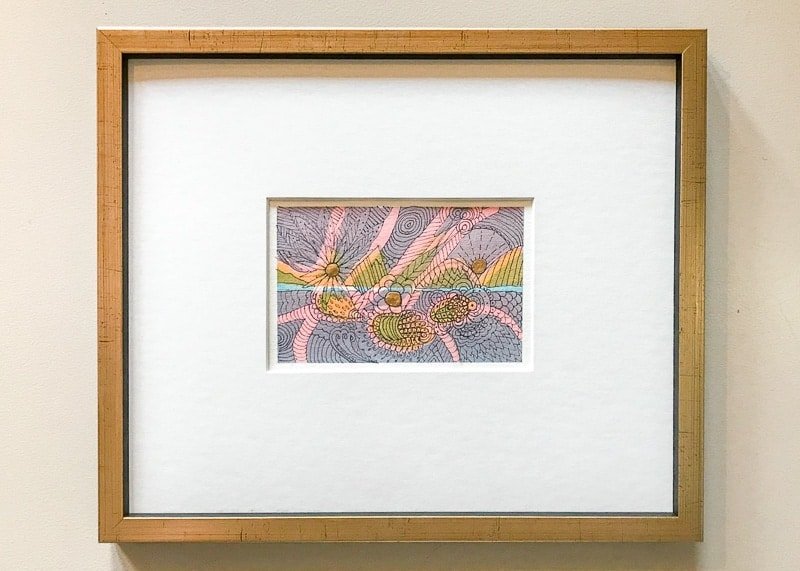
Here’s a complete list of my art works I made between late 2019 and March 2025. It goes along with the post, “The Best Thing for your Creativity in 2025”

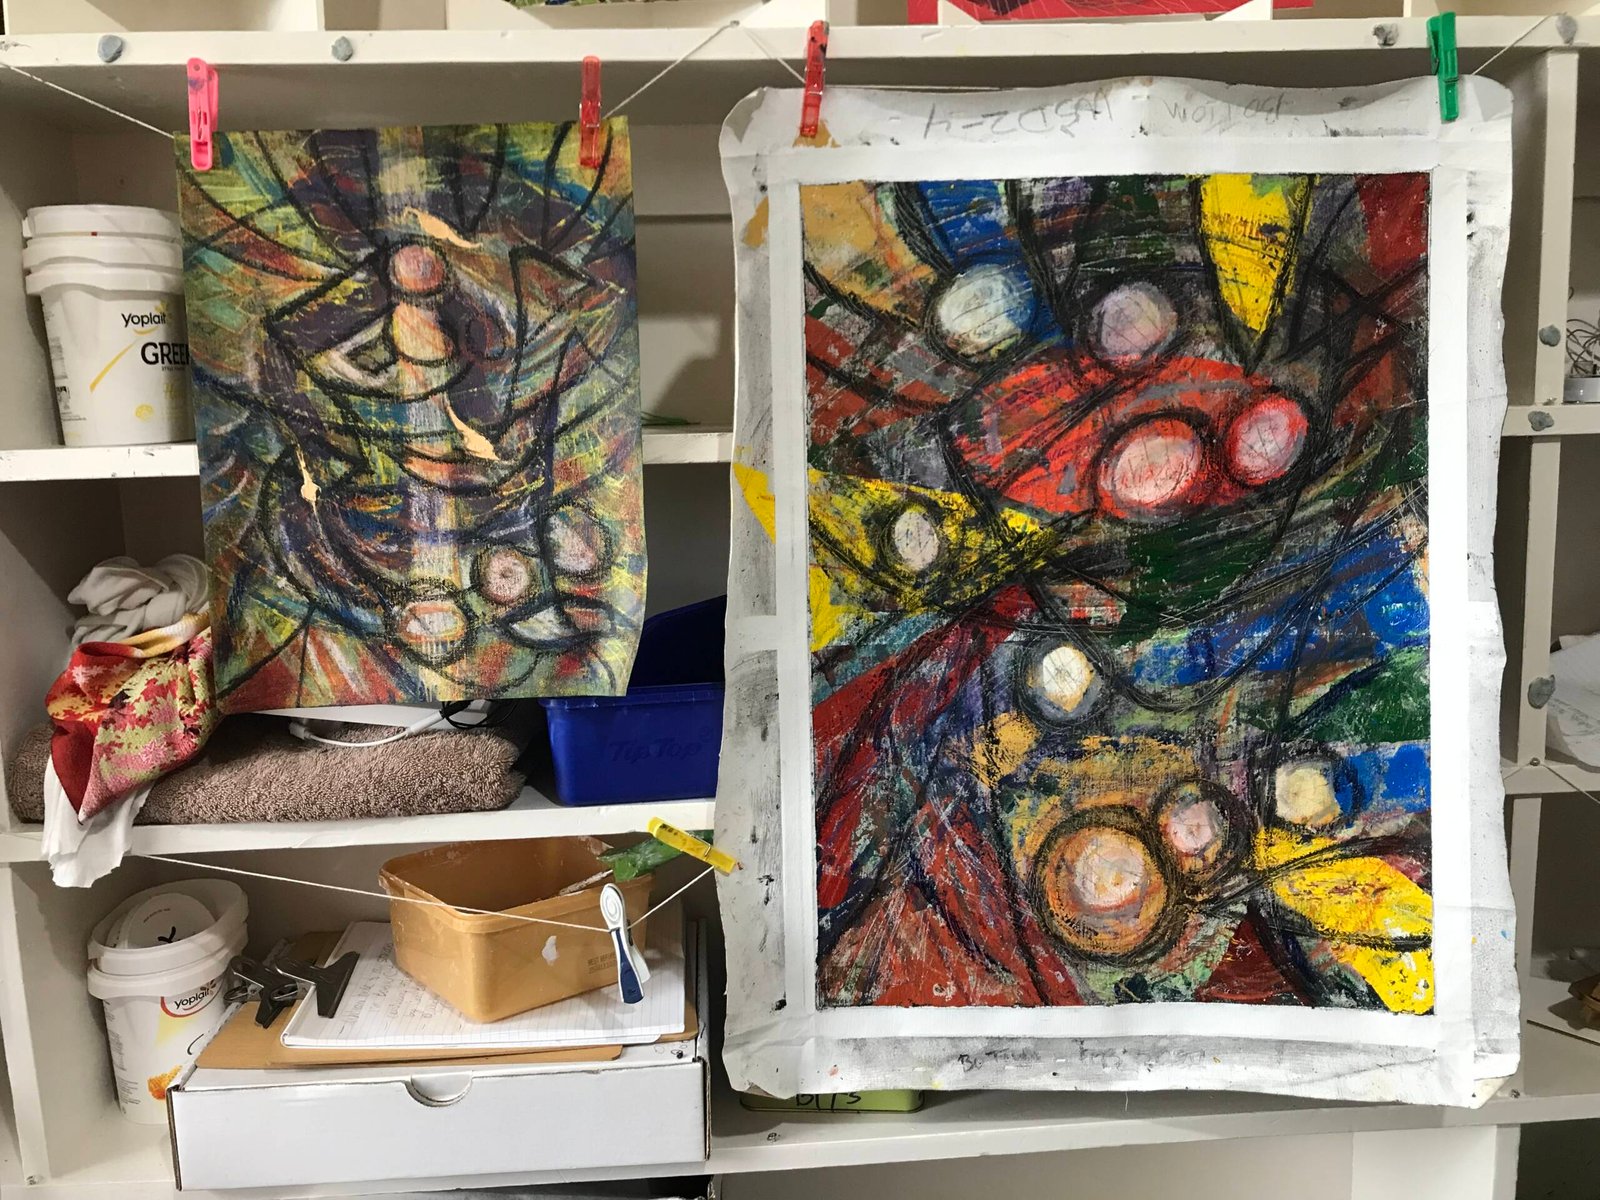
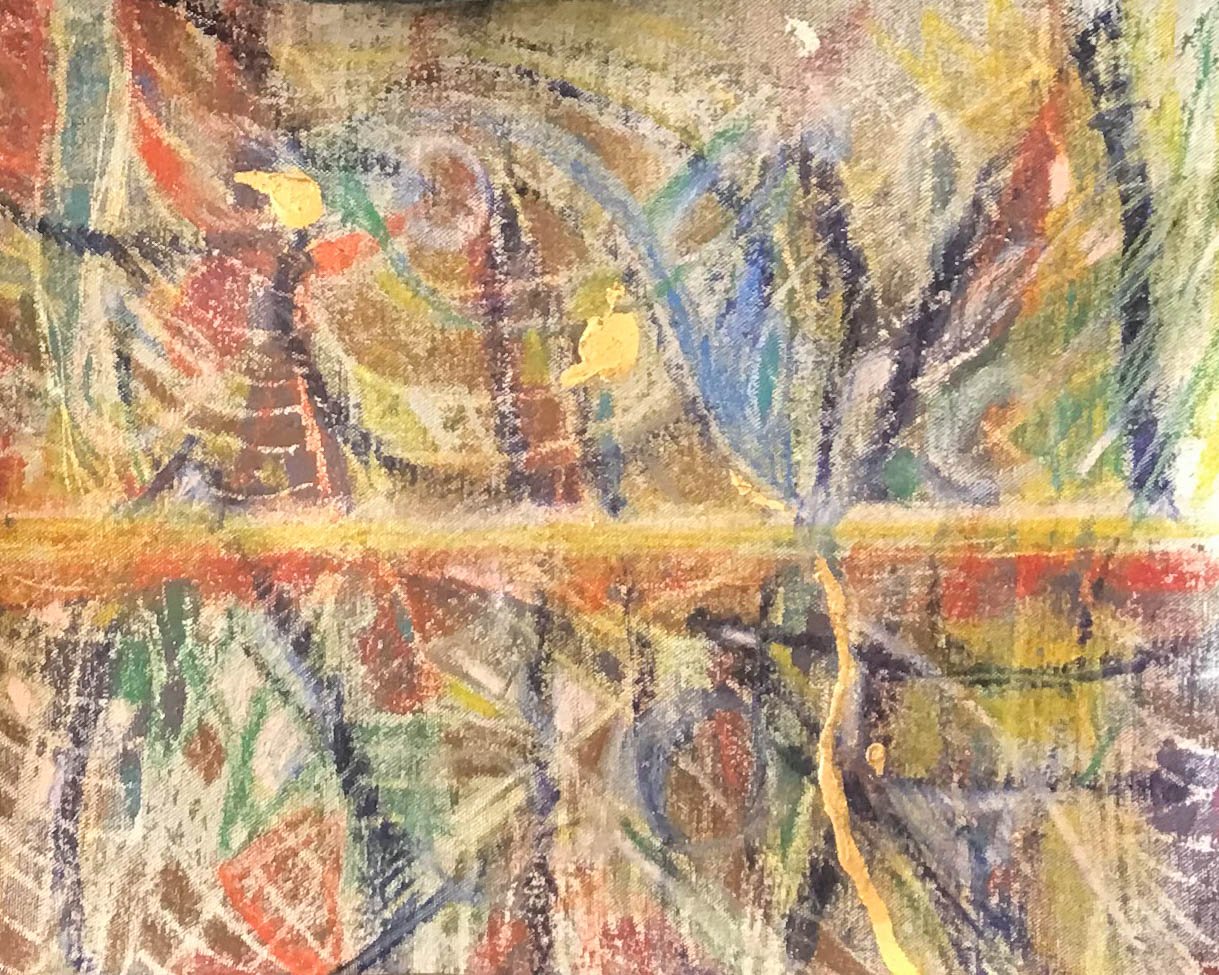
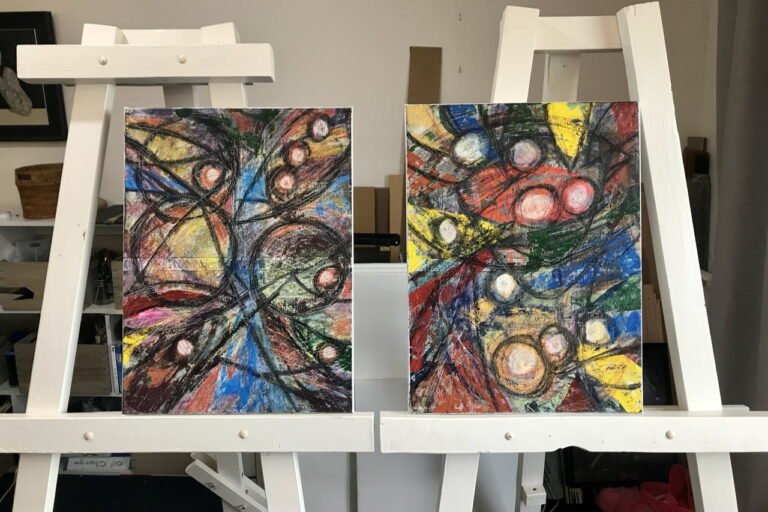
‘Moving On’, a significant studio conquest and personal victory, arises from a year-long dive into abstraction, after a life-time of narrative realism.